The Hurried Hostess

Inspired Eating & Traveling on a Budget

  • Home
    • DIY
    • Entertaining At Home
    • Marriage
    • Parenting
  • Recipes
    • Appetizers
    • Cocktails
    • Salads
    • Meals
    • Sides
    • Desserts
  • Travel
    • Texas
    • United States
    • Mexico
    • Europe
    • Traveling on a Budget
    • Traveling With Kids
  • About
    • Mission
    • Press
    • Contact
    • Subscribe
DIY ~ Entertaining At Home ~ Gifting ~ Home ~ Playing Hostess

3 Step DIY Snack Bags

May 15, 2018

Share this:

  • Click to print (Opens in new window) Print
  • Tweet
3 Step DIY Snack Bags

This post contains affiliate links.

I am “that” parent. You know the one…the overachiever who brings personalized goodies for the whole class at Christmastime and who works to find just the right teacher appreciation gift. Well, I’m okay with that. What can I say? I love crafting and cooking and gifting, so why not bless others with that gift? So today I’m going to show you something I make occassionally to put those little treats and snack in.

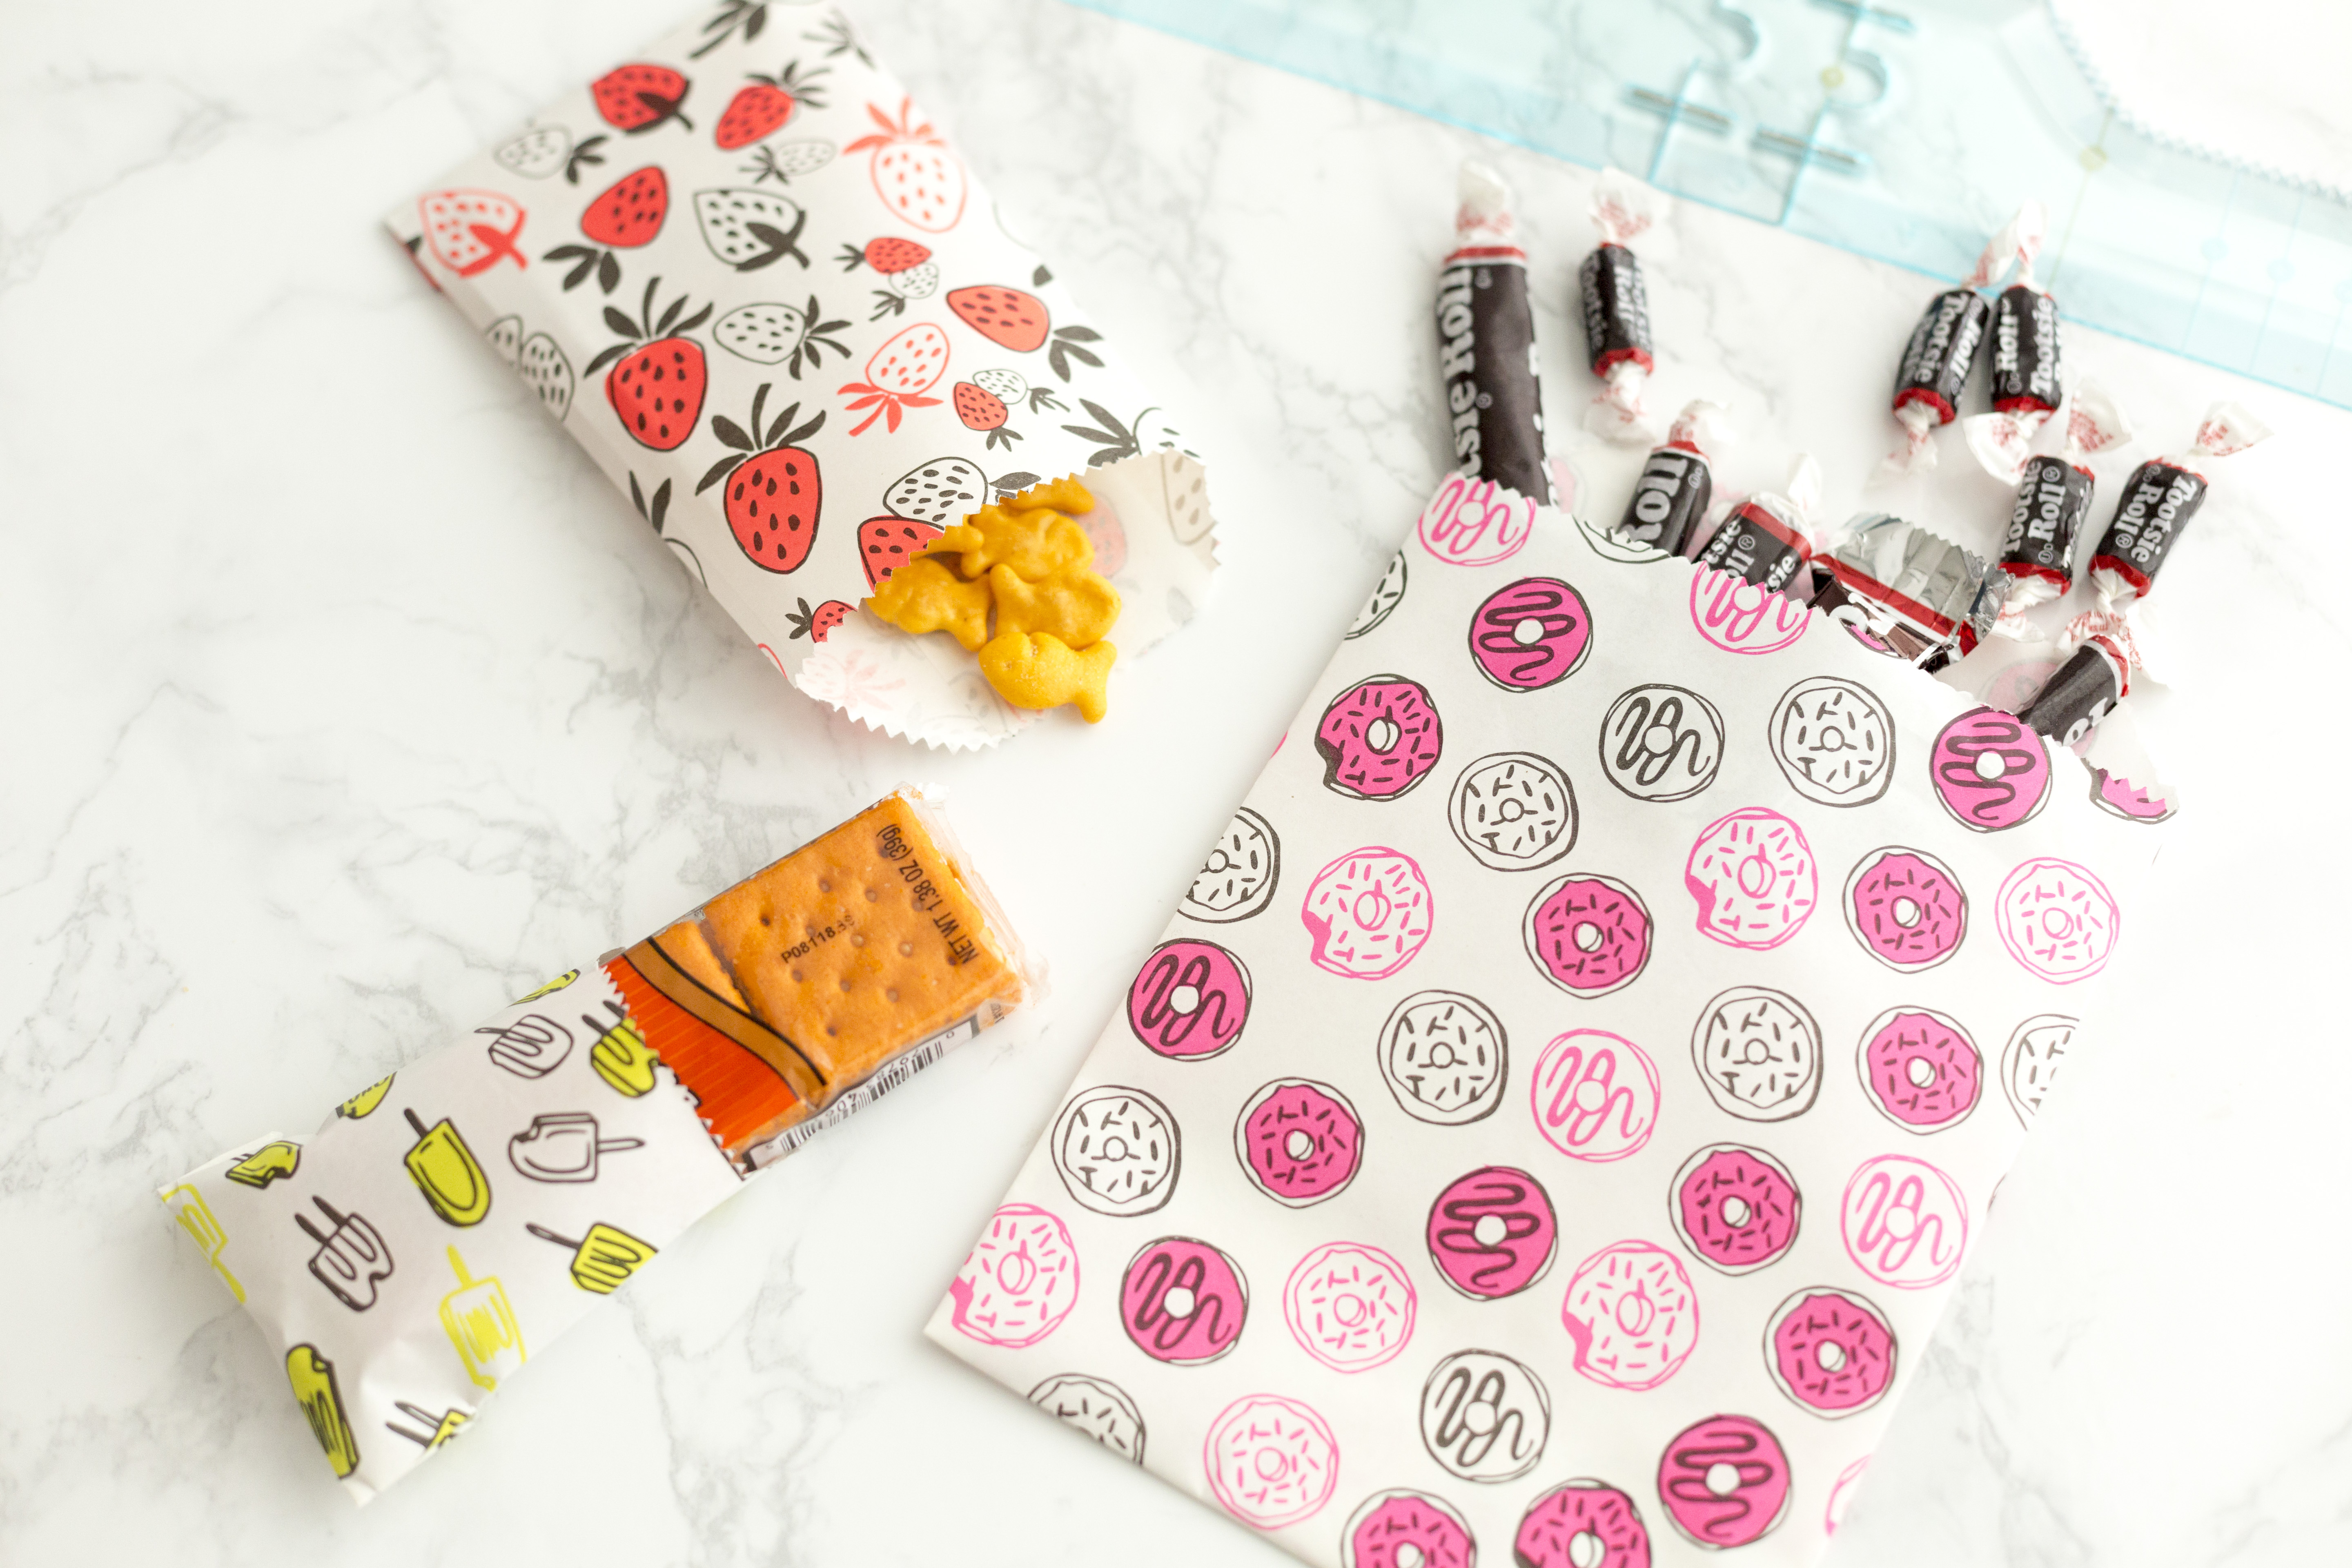
These cute goodie bags are perfect as wedding favors, birthday party takeaways, Valentine’s Day snack bags, or just because. I love how versatile they are and they’re super easy to make!

First, you’ll need to get this tool, some paper, and adhesive. Any thin paper will work, but I prefer this fun and colorful glassine paper. The glassine paper is perfect for foods since it has a waxy under layer, but you could also use non-glassine paper if it’s not going to contain a food product. I also prefer this adhesive applicator because it’s neat and easy to use.

Next, you’ll decide on the size of paper you have. This tool can create 4 different bag sizes, depending on the size of the paper you use. I like to use square papers for mine. Here is the size chart of your reference:

  • 12″ paper width = 5.5″ folded bag width
  • 10″ paper width = 4.5″ folded bag width
  • 8″ paper width = 3.5″ folded bag width
  • 6″ paper width = 2.5″ folded bag width

The tool has 4 different pieces to it. The size of the paper used determines which pieces you’ll be using. Use the included instructions to determine the correct pieces you’ll need.

Next, you’ll line the tool near the top of one end of the paper. Working your way in from one side and then the other, gently pull up on the paper while pushing down on the tool and tear the paper against the grooves. It will create a wavy tear line across the top of your paper.

Next, move the tool close to the bottom edge of the paper and repeat the process from above.

Then, you’ll use the straight side of the tool to help you fold one side over, then the other side, and then up from the bottom.

Once the three sides have creases in them, fold the two sides in and apply the adhesive to the overlapping section. Repeat this process with the bottom flap.

Now you’ve created your first snack/goodie bag and you can fill it up!

If you’d like to see more tips like these, follow me on Pinterest!

Share this:

  • Click to print (Opens in new window) Print
  • Tweet

Related Posts

5 Things You Should Know About Before Attending Your First Pinners Conference

5 Things You Should Know About Before Attending Your First Pinners Conference

The Pinners Conference is a two-day long crafting, cooking, and organizing extravaganza! Basically, if it’s something you’d “pin” on Pinterest, then they’ll have something closely related to it there. There’s classes and shopping all day long both days and you are in for a real […]

Perfect for Snacking Pretzel Bites

Perfect for Snacking Pretzel Bites

If ever there was a time for snacking, the time is now. And the answer for “what should I eat?” is definitely these soft pretzel bites. Who Ate My Quarantine Snacks? Covid-19 has left us all stuck in our homes and held captive by our […]

Turkey Guacamole Pinwheels

Turkey Guacamole Pinwheels

This post has been sponsored by the makers of HERDEZ® Salsa & WHOLLY® Guacamole. All thoughts and opinions are my own. Isn’t it funny how fashion of decades ago seems to be coming back? The chunky heeled shoes, the mom jeans, and the bodysuits are […]


What to See, Eat, and Do in Dallas, Texas
French Onion Soup

Travel

  • Traveling on a Budget
  • Texas
  • United States
  • Mexico
  • Europe
  • Traveling With Kids

Home

  • Entertaining At Home
  • DIY
  • Marriage
  • Parenting

Recipes

  • Appetizers
  • Salads
  • Sides
  • Meals
  • Desserts

About

  • Mission
  • Subscribe
  • Press
  • Contact
  • Instagram
  • Facebook
  • Pinterest
  • YouTube
  • Twitter
Copyright © 2020 The Hurried Hostess | PRIVACY | COOKIES
  • Juliet Pro by LyraThemes.com
This website uses cookies to improve your experience. We'll assume you're ok with this, but you can opt-out if you wish. Cookie settingsACCEPT
Privacy & Cookies Policy

Privacy Overview

This website uses cookies to improve your experience while you navigate through the website. Out of these cookies, the cookies that are categorized as necessary are stored on your browser as they are essential for the working of basic functionalities of the website. We also use third-party cookies that help us analyze and understand how you use this website. These cookies will be stored in your browser only with your consent. You also have the option to opt-out of these cookies. But opting out of some of these cookies may have an effect on your browsing experience.
Necessary
Always Enabled
Necessary cookies are absolutely essential for the website to function properly. This category only includes cookies that ensures basic functionalities and security features of the website. These cookies do not store any personal information.
Non-necessary
Any cookies that may not be particularly necessary for the website to function and is used specifically to collect user personal data via analytics, ads, other embedded contents are termed as non-necessary cookies. It is mandatory to procure user consent prior to running these cookies on your website.
SAVE & ACCEPT