If you saw my Instagram stories today, then you saw my Christmas tree.
Yes, yes, it’s up already. This year has been a dumpster fire and I needed something to bring joy to our home. So up the tree went.
My tree is anything but cute. It has mismatched ornaments and nostalgic momentos of the kids’ school crafts over the years, so there’s really no rhyme or reason to it. However, in an effort to make my tree look a little nicer, I’ve opted to make these cute farm house inspired wood bead ornaments
I also used Rit dye to dye a bunch of ornaments all at once so they match my Christmas decor!
Follow along so you can make some too!
Farmhouse Wood Bead Ornaments

Don't waste money on those overpriced farmhouse ornaments at the store! Make them yourself with these easy tips!
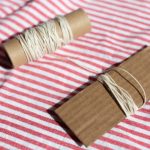
- 2 ” by 5″ piece of cardboard
- butcher’s twine
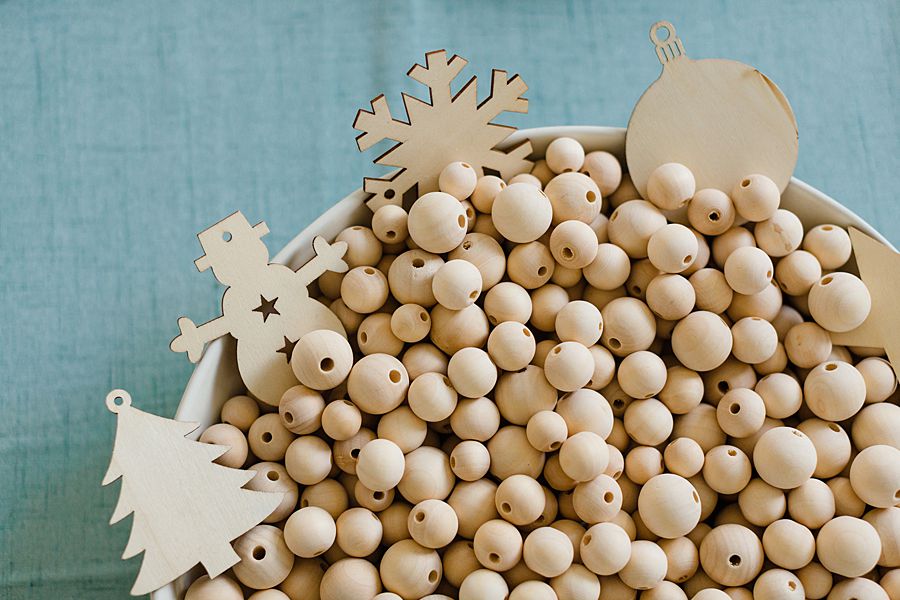
- wood beads
- scissors
-
Take your butcher's twine and hold the loose end against the bottom of the short side of your piece of cardboard. Taking the string up and over the top of the cardboard and back down again, wrap the twine 20 times around the cardboard.
-
Put the scissors through the loop on the bottom where you started the first piece and cut all of the strings across that bottom side.
-
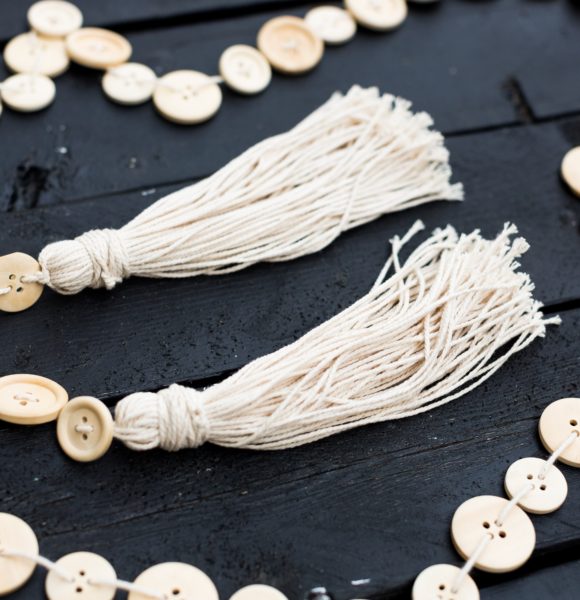
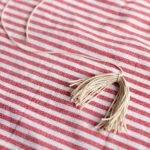
Bend your cut pieces in half and take a 1 foot long piece of twine and tie a knot around the bend (middle) of your stack of cut the pieces of twine.
-
Take a separate piece of twine about 8 inches long and wrap it around the bundle about 10 times. Knot the end to make it secure. Trim any excess off of it.

-
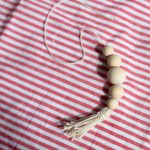
Now we're ready to get those wood beads on! Using the untied 1 foot piece of twine, take your twine through one wood bead at a time. I used 5 beads for my design, but you can make it look like whatever you like.
-
When you're finished putting beads on, take your string and tie it to your ornament hanger. Just a double knot is fine to secure it.
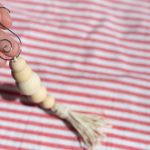
If your twine tries to unravel, you can wet it with you mouth and it will come back together. If it’s too far gone, just snip off the end and keep going.
Products Used:

More DIY Home Decor Ideas You’ll Love:
Woodsy Home Decor: Stick Letters
If you’d like to see more crafty ideas like this, follow me on Facebook!