I have a problem.
I’ve been seeing these cute wood bead garland everywhere. They’re super cute in modern farmhouse decor and I just love the look of them. What I don’t love I the price tag associated with most of them. All the ones I saw were anywhere from $5-6 per foot. I think that’s ridiculous!
So what’s a girl do that refuses to overpay for something she could make herself? She gets crafting!
It was actually pretty easy once I got the hang of it. These 10 foot long strand took me about 30 minutes to make and only about $8 to make. It’s so easy and you can do it too!
I also used Rit dye to dye the whole garland at once to match my Christmas decor!

Farmhouse Wood Bead Garland

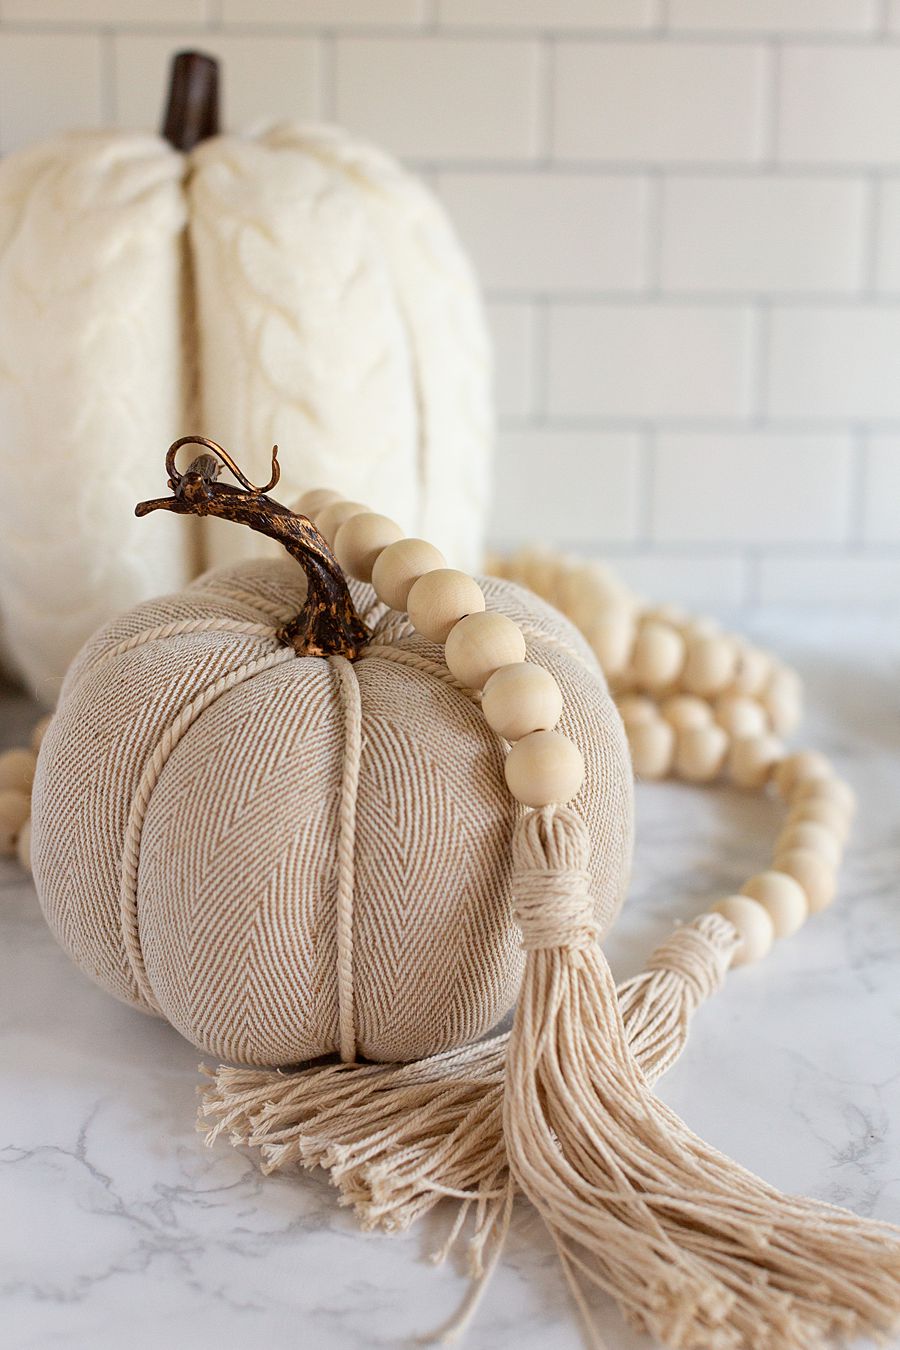
These wood bead garlands are perfect for wrapping around a Christmas tree, putting on a tablescape, or decorating around your home.
- 2" by 5" piece of cardboard
- butcher’s twine
- wood beads
- scissors
-
Take your butcher's twine and hold the loose end against the bottom of the long side of your piece of cardboard. Taking the string up and over the top of the cardboard and back down again, wrap the twine 50 times around the cardboard.

-
Put the scissors through the loop on the bottom where you started the first piece and cut all of the strings across that bottom side.

-
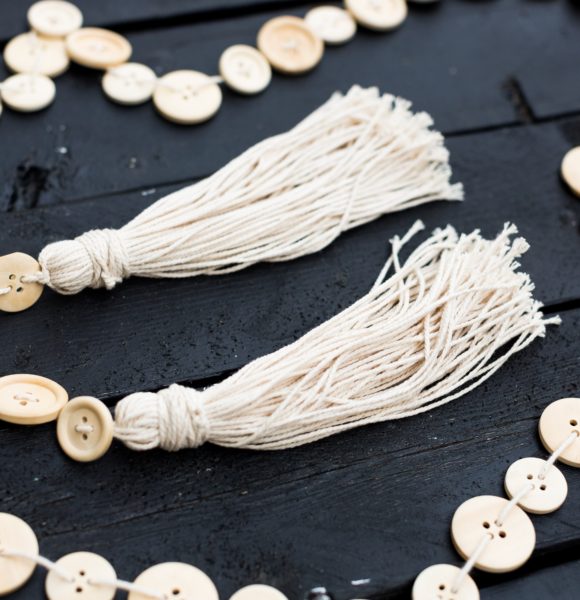
Bend your cut pieces in half and take your 10 foot long piece of twine and tie a knot around the bend (middle) of your stack of cut the pieces of twine.

-
Take a separate piece of twine about 2 feet long and wrap it around the bundle about 20 times. Knot the end to make it secure. Trim any excess off of it.

-
Now we're ready to get those wood beads on! Using the untied 10 foot piece of twine, take your twine through one wood bead at a time. Repeat this process until you're either out of beads or at 6 inches from the end of the twine.

-
Take the roll of twine and hold the loose end against the bottom of the long side of your piece of cardboard. Taking the string up and over the top of the cardboard and back down again, wrap the twine 50 times around the cardboard.
- Put the scissors through the loop on the bottom where you started the first piece and cut all of the strings across that bottom side.
-
Bend your cut pieces in half and take the end of the garland with buttons on it and tie a knot around the bend (middle) of your stack of cut the pieces of twine.

-
Take a separate piece of twine about 2 feet long and wrap it around the bundle about 20 times. Knot the end to make it secure. Trim any excess off of it.

If your twine tries to unravel, you can wet it with you mouth and it will come back together. If it’s too far gone, just snip off the end and keep going.
Products Used:
More DIY Home Decor Ideas You’ll Love:
Woodsy Home Decor: Stick Letters
If you’d like to see more crafty ideas like this, follow me on Facebook!