This post is sponsored in kind by Truly Mad Plastics and Sprinkle Pop.

You’ve seen them – those absolutely adorable cookies that have the most perfect icing you’ve ever seen on them. Whether it’s back to school pencil cookies or Christmas trees, presents, and angels, there are some truly amazing cookie designers out there with some serious skills!
I wanted to try my hand at it, so here’s a little look at my quest to decorate cookies like a pro.


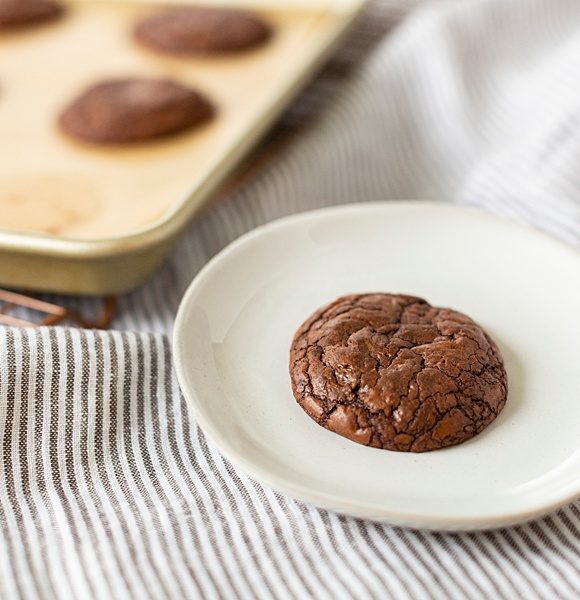
First, I started with a cookie recipe. The one I used was this one from Bake at 350. It was a simple enough recipe to follow. The dough is going to be dryer than a traditional cookie dough, so be prepared for that. You’ll also want to make sure the cookies are the same thickness all the way across the cookie and that they’re completely smooth on top. Bumpy cookies make for an uneven surface for the icing to spread on. The cookie cutters I used are from a Houston-based company, Truly Mad Plastics. They have everything you could possibly want and if they don’t, they can make you what you want with their 3D printers! So cool!

Next, you’ll need to make the royal icing. I like this one from Sugarbelle. Since I opted to try the “flooding” technique, that means I had to make two different types of icing – a regular consistency royal icing, and then a “flooding” consistency royal icing (this is the same recipe, just with a little added water to thin it out a bit).

After that, I called in for reinforcement. I had the opportunity to get a private lesson in cookie decorating with the amazing Jacqueline from Tudor House Cookies and man, am I SO thankful for her! I’m a hands on learner, so I was so excited when she offered to teach me some of the basics. Here’s the process she taught me. And by the way, she offers classes periodically so make sure to get in on one!


After you have your two different icing consistencies in your tip-less bags, you’re ready to begin. Starting with the thicker consistency bag (what we’ll be using for the outline), you’ll snip a small amount off the tip of the bag. Make sure when you cut it, the seam of the bag is facing up.

Now to begin decorating. Touch the tip of the bag to the cookie’s edge and pull up. Instead of dragging the bag around the edge of the cookie, you’ll be holding the tip about a centimeter above the cookie and letting the icing fall in a steady stream. When you come to a hard edge on the cookie, you’ll simply touch the bag’s tip to the cookie and then continue on with letting the icing fall again. Keep this up until you’ve completely made it around the perimeter of the cookie.

Now, it’s time to fill it in! Grab that other bag of icing (the “flooding” one) and snip the tip off of that one just like the other one. This time, you’ll want the tip’s opening to be just a bit bigger than the last one. Starting slightly on top of the edge icing, you’ll go around the perimeter again. Basically what you want the flood icing to do is land on top of the edge icing and slide down inside that edge. Once you’ve gone all the way around the perimeter, go clockwise and fill in the rest of the cookie. Don’t worry about it being perfect. We’re not done yet.

Here’s where we perfect it (and it’s my favorite part) – you shimmy it! Slide that cookie back and forth across the counter. That gentle motion smooths out the icing and makes it all one even layer. If you see any bubbles, you can use a boo boo stick or a toothpick and lightly pop it. Fair warning: if you got your flood icing outside that edge of icing, it’s going to run down the side of the cookie, so you have to be pretty precise with putting the flood icing on top of the inside of the edge.

And that’s it! That’s the basic idea for cookie decorating. If you want to add layers, swirl some colors together, or add sprinkles, do it! Experiment. Have fun with it. See what works for you and what doesn’t. I can’t wait to see your creations!
If you’d like to see more tips like this, follow me on Pinterest!