My grandmother collected buttons.
With every shirt that came with an extra button, she would take it and put it in an old butter cookie tin. As my grandfather wore out shirts working outside, she would salvage the buttons from the shirts and stick them in the cookie tin too.
As I’ve been working on cleaning out their home, I came across her cookie tin. There in the tin were decades worth of buttons. Some flashy, some worn, and some with bits of fabric and string still attached to them.
I’ve seen those Farmhouse Wood Bead Garlands that are so popular in home decor and I thought, why not make something similar but with item I already have?
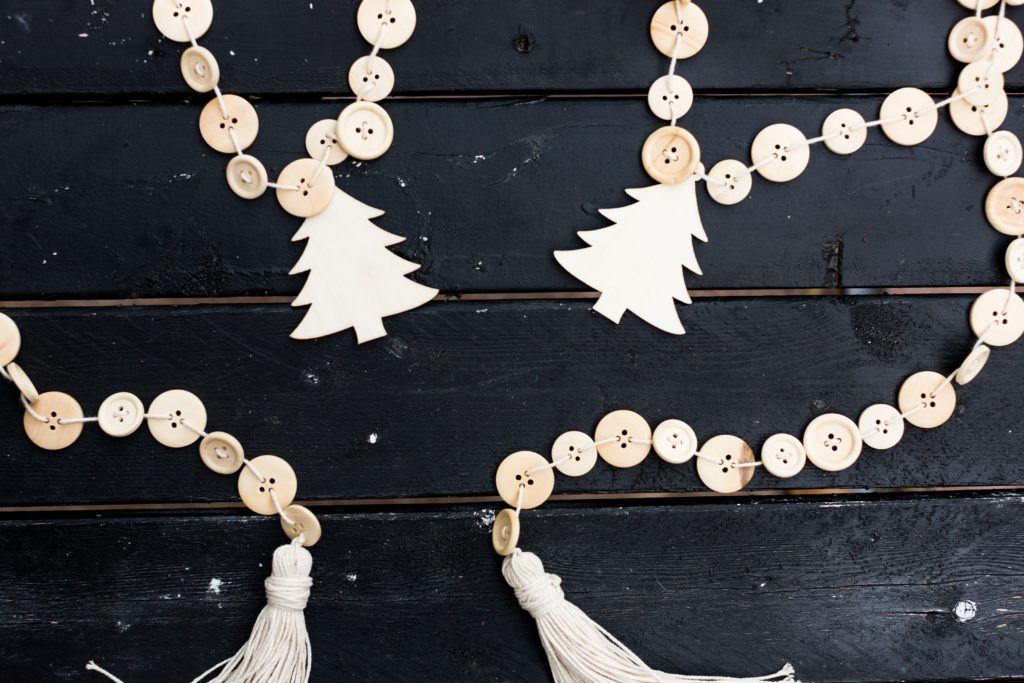
SO if you have a ton of buttons to use, do it. And if you don’t, then grab a bag of these wooden buttons and let’s get to it! These wooden button garlands are perfect for wrapping around a Christmas tree, putting on a tablescape, or decorating around your home.
What kind of buttons work best?
Any kids of button will work in making this button garland, but you’re going to want to make sure the holes are big enough that the twine can get through it. I used this bag of wood buttons and the largest ones (25mm) worked the best. I also used the 20mm wood buttons, but they were a little more tricky to get the twine through their holes cleanly.
Can I dye the wood buttons and twine?
You can absolutely dye the wood buttons and twine any color you like! I used RIT dye to dye mine to match my decor. You could also use it to match your Christmas tree, tablescape, or kids’ bedroom. They have every color of the rainbow to choose from and their website also has the recipes for how to achieve the perfect color you’re looking for.
How can I make this work for different holidays?
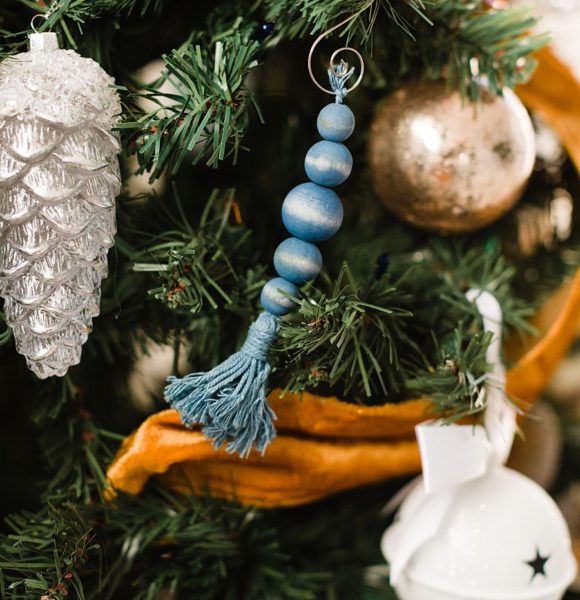
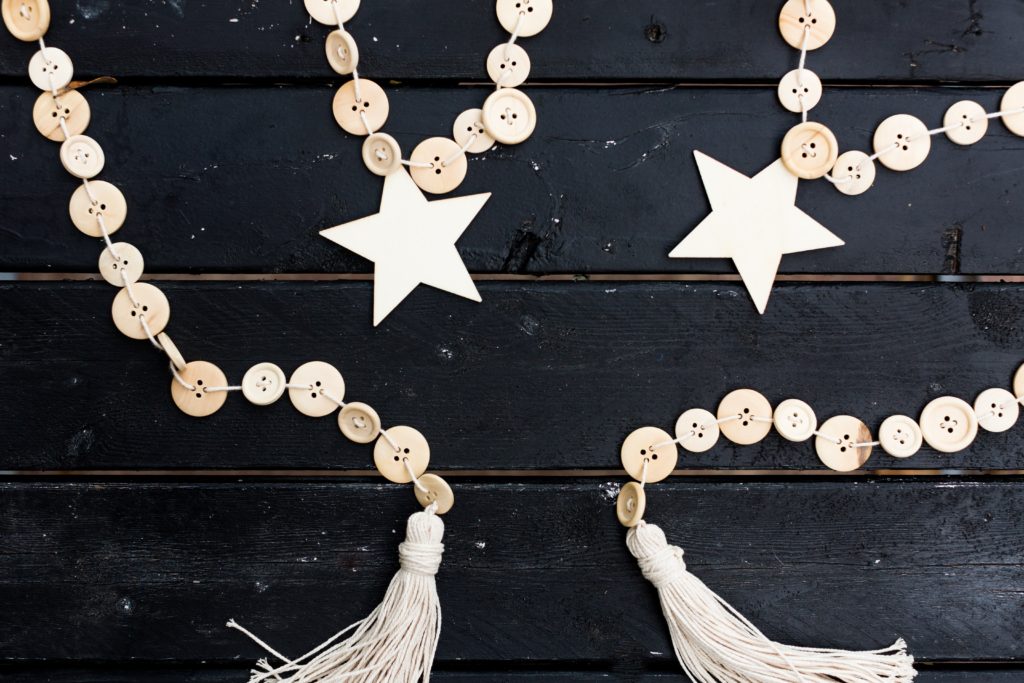
In order to make this button garland work for holidays like Valentine’s Day, Christmas, winter, and the Fourth of July, I use these wood shapes and just tie them on with twine. When the holiday is over, I just cut the added shapes off and get the garland ready for the next holiday I want to use the banner for.
Button Garland Decor

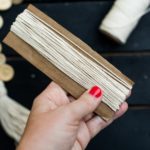
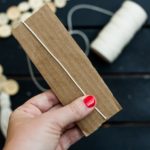
- 2" by 5" piece of cardboard
- butcher's twine
- wood buttons
- scissors
-
Take your butcher's twine and hold the loose end against the bottom of the long side of your piece of cardboard. Taking the string up and over the top of the cardboard and back down again, wrap the twine 50 times around the cardboard.
-
Put the scissors through the loop on the bottom where you started the first piece and cut all of the strings across that bottom side.

-
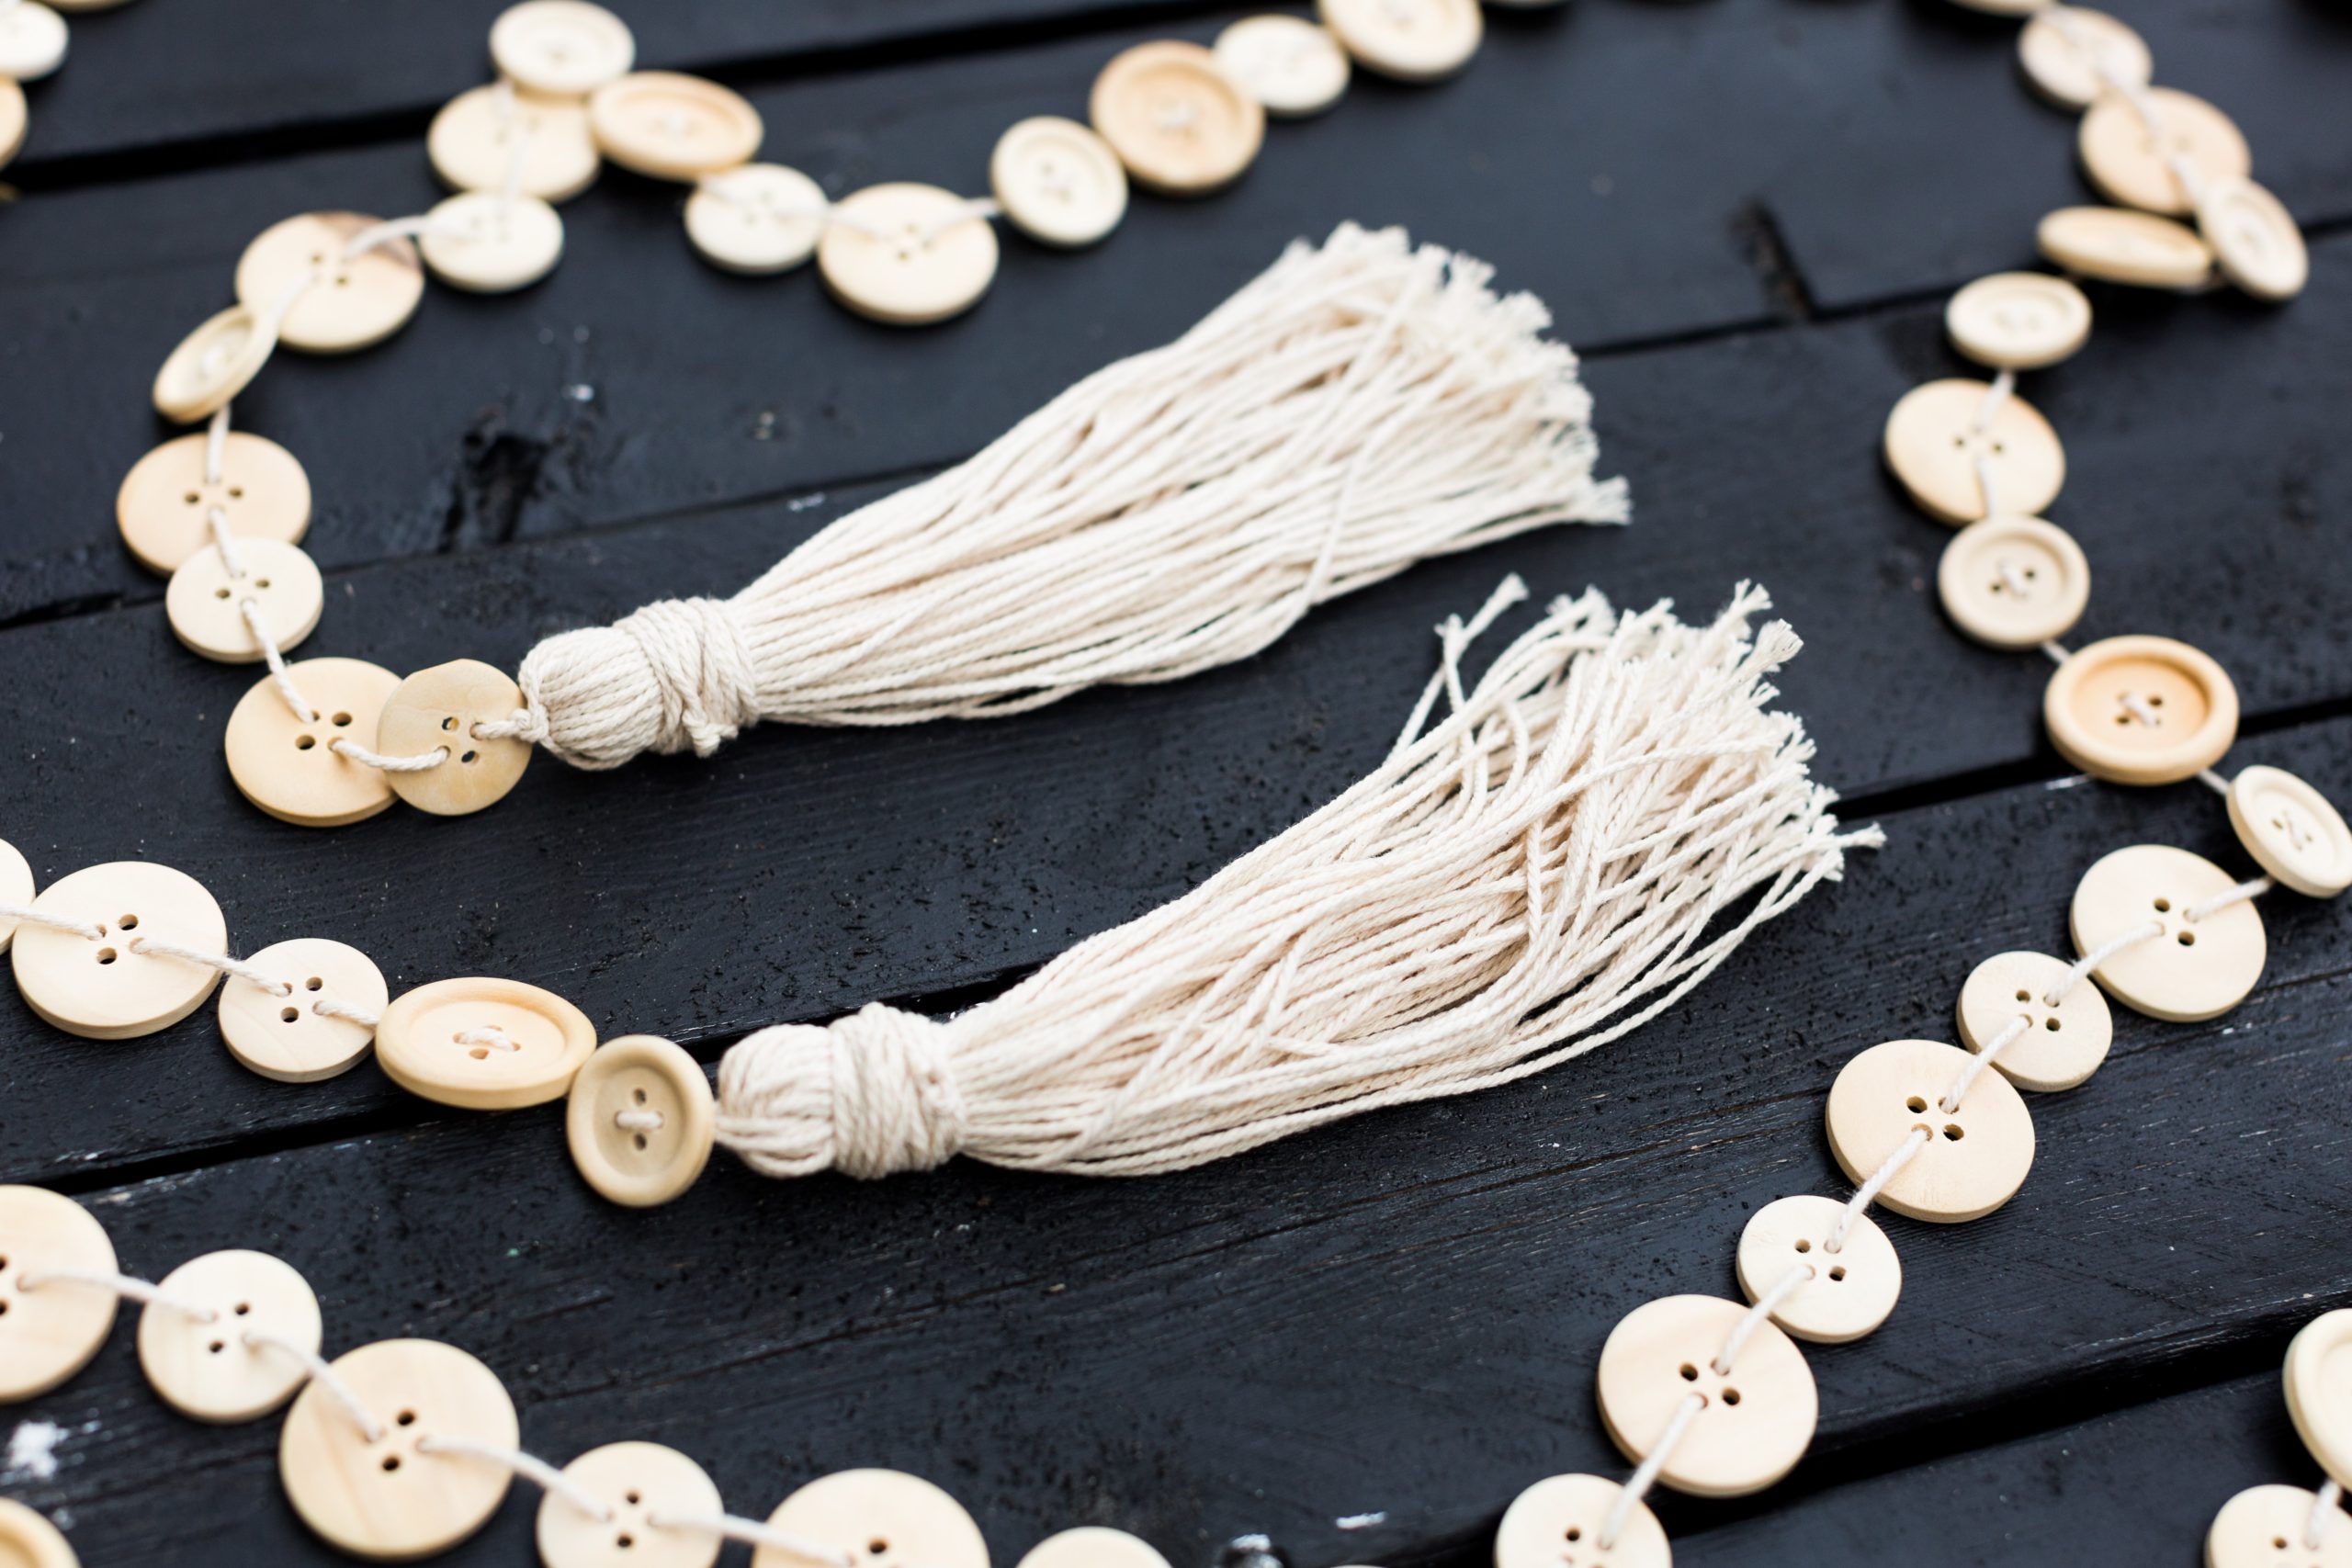
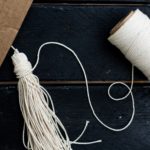
Bend your cut pieces in half and take your 10 foot long piece of twine and tie a knot around the bend (middle) of your stack of cut the pieces of twine.

-
Take a separate piece of twine about 2 feet long and wrap it around the bundle about 20 times. Knot the end to make it secure. Trim any excess off of it.
-
Now we're ready to get those buttons on! Using the untied 10 foot piece of twine, take your twine through the back of one button and then back through the opposite side of the same button. The twine should start and end on the back of the button. Repeat this process until you're either out of buttons or at 6 inches from the end of the twine. You can decide how close you want the buttons together.

-
Take the roll of twine and hold the loose end against the bottom of the long side of your piece of cardboard. Taking the string up and over the top of the cardboard and back down again, wrap the twine 50 times around the cardboard.
-
Put the scissors through the loop on the bottom where you started the first piece and cut all of the strings across that bottom side.
-
Bend your cut pieces in half and take the end of the garland with buttons on it and tie a knot around the bend (middle) of your stack of cut the pieces of twine.
-
Take a separate piece of twine about 2 feet long and wrap it around the bundle about 20 times. Knot the end to make it secure. Trim any excess off of it.
If your twine tries to unravel, you can wet it with you mouth and it will come back together. If it’s too far gone, just snip off the end and keep going.
Products Used:
More DIY Home Decor Ideas You’ll Love:
Woodsy Home Decor: Stick Letters
If you’d like to see more crafty ideas like this, follow me on Facebook!